The littlest detail can make the biggest difference. Whether you’re a true beginner or a seasoned pro, we’ve created these easy to follow DIYs to help take your wedding day glassware to the next level!

Beginner: Tag It
Supplies: Glassware, Tag Templates, Ribbon
- Choose your label template and print out as many as you will need (plus a couple extra just in case!)
- Hole punch the top and string through the decorative ribbon.
- Tie around your glasses and enjoy!
Intermediate: Glitter It
Supplies: Glassware, Glitter Glass Paint, Foam Paint Sponge, Stenciling Tape
- Start at the base of your glass and use the sponge to evenly disperse the paint.
- Allow to dry for one hour, then apply a second coat.
- Let the glass ‘cure’ for 25 days before use.
Advanced: Etch It
Supplies: Glassware, Letter Templates, Etching Cream, Paintbrush
- Adhere your template to the glass and make sure it’s really on there.
- Paint on the etching cream (watch for spills!) and let sit for five minutes.
- Rinse your glasses in warm water and enjoy!
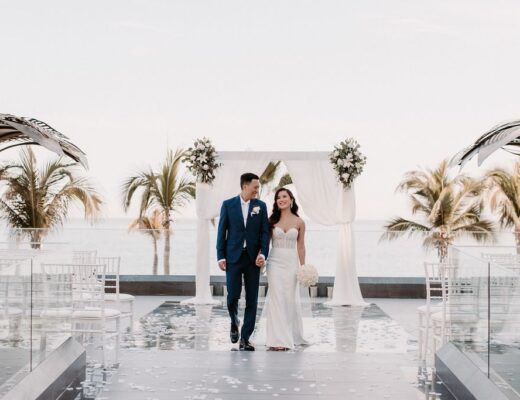
For more destination wedding inspiration, browse our latest issue of Get Married Away!
![]()